Guide
How much does a campervan conversion cost?
A van build can cost a few thousand or as much as the vehicle itself. The difference comes mostly from the electrics, heating, windows and how much of the work you do yourself. Here you will find rule-of-thumb ranges by area, the costs almost everyone forgets and a simple method for keeping the budget under control.
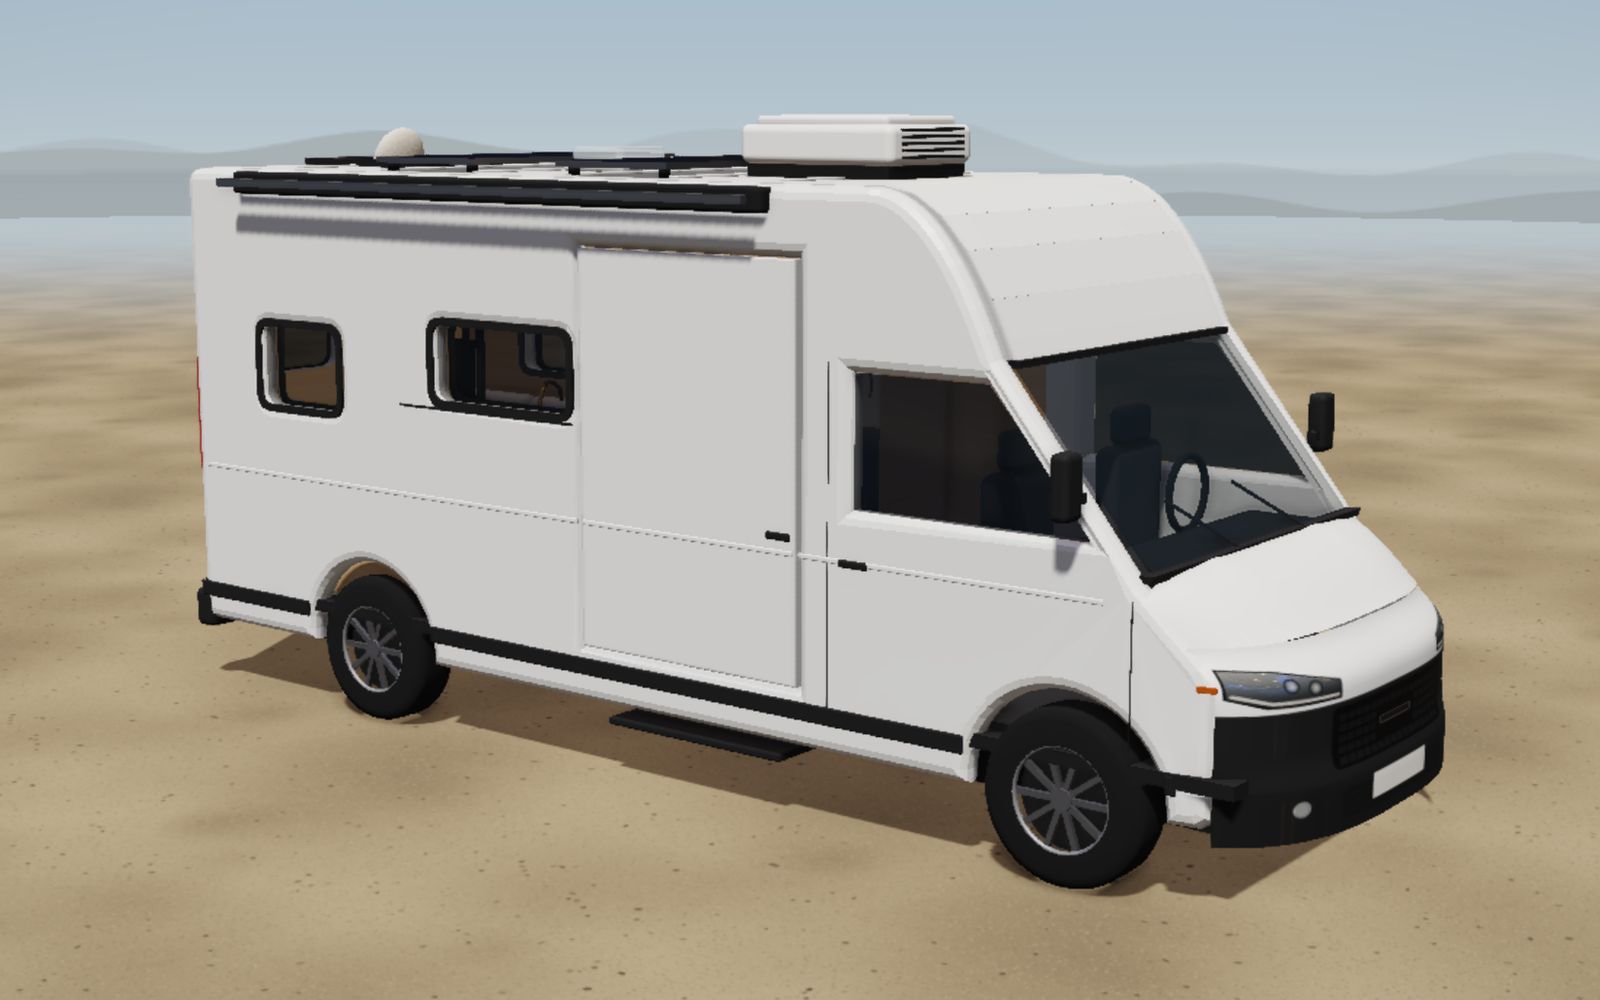
All figures here are rules of thumb for materials and fitted parts, excluding the base vehicle and your own time. Prices vary a lot by region, year, quality and supplier. Amounts are given in Swiss francs; euro amounts sit in a similar range, and pound amounts a little lower.
The short answer: three levels of build
Whether a conversion ends up cheap or expensive depends less on timber and upholstery than on the technical systems. These three levels give you a first orientation:
| Build level | Typical scope | Materials, rule of thumb |
|---|---|---|
| Basic | Bed, simple kitchen with cool box, small battery, insulation, water containers instead of tanks, no fixed heater | around CHF 4,000–9,000 |
| Solid all-rounder | Windows and roof vent, lithium battery with solar and DC-DC charger, compressor fridge, water tanks with pump, diesel air heater | around CHF 10,000–20,000 |
| High-end and off-grid | Large electrical system with inverter, washroom with shower and hot water, several windows, quality furniture and finishes | around CHF 20,000–40,000 and more |
If a workshop builds everything for you, labour comes on top. On a full conversion it makes up a large share of the bill and often more than the materials.
Costs by area
The table shows rule-of-thumb figures in CHF for the materials and appliances of a mid-size panel van. A compact bus will come in lower on most lines, a long high-roof van higher.
| Area | Low | Mid | High | What drives the price |
|---|---|---|---|---|
| Insulation and vapour barrier | 400 | 1,000 | 2,000 | Material, surface area, high roof, insulated floor |
| Windows, roof hatch, fan | 300 | 1,500 | 4,000 | Number of openings, professional fitting |
| Floor, walls, ceiling | 500 | 1,500 | 3,000 | Plywood, lightweight panels, fabric or timber cladding |
| Furniture and hardware | 800 | 2,500 | 6,000 | Board material, runners, catches, curved shapes |
| 12 V electrics | 800 | 3,000 | 8,000 | Battery capacity, solar power, DC-DC charger, inverter |
| Kitchen | 400 | 1,500 | 3,000 | Cool box or compressor fridge, cooker, sink |
| Water | 150 | 600 | 2,000 | Containers or tanks, pump, hot water, frost protection |
| Heating | 0 | 1,500 | 3,500 | Diesel air heater, combi with hot water, professional installation |
| Washroom and toilet | 100 | 800 | 3,000 | Portable toilet up to a wet room with shower |
| Small parts | 300 | 800 | 1,500 | Cable, fuses, screws, adhesive, sealant |
The mid column adds up to just under CHF 15,000. It also shows where the big levers are: electrics, furniture, windows and heating together account for more than half.
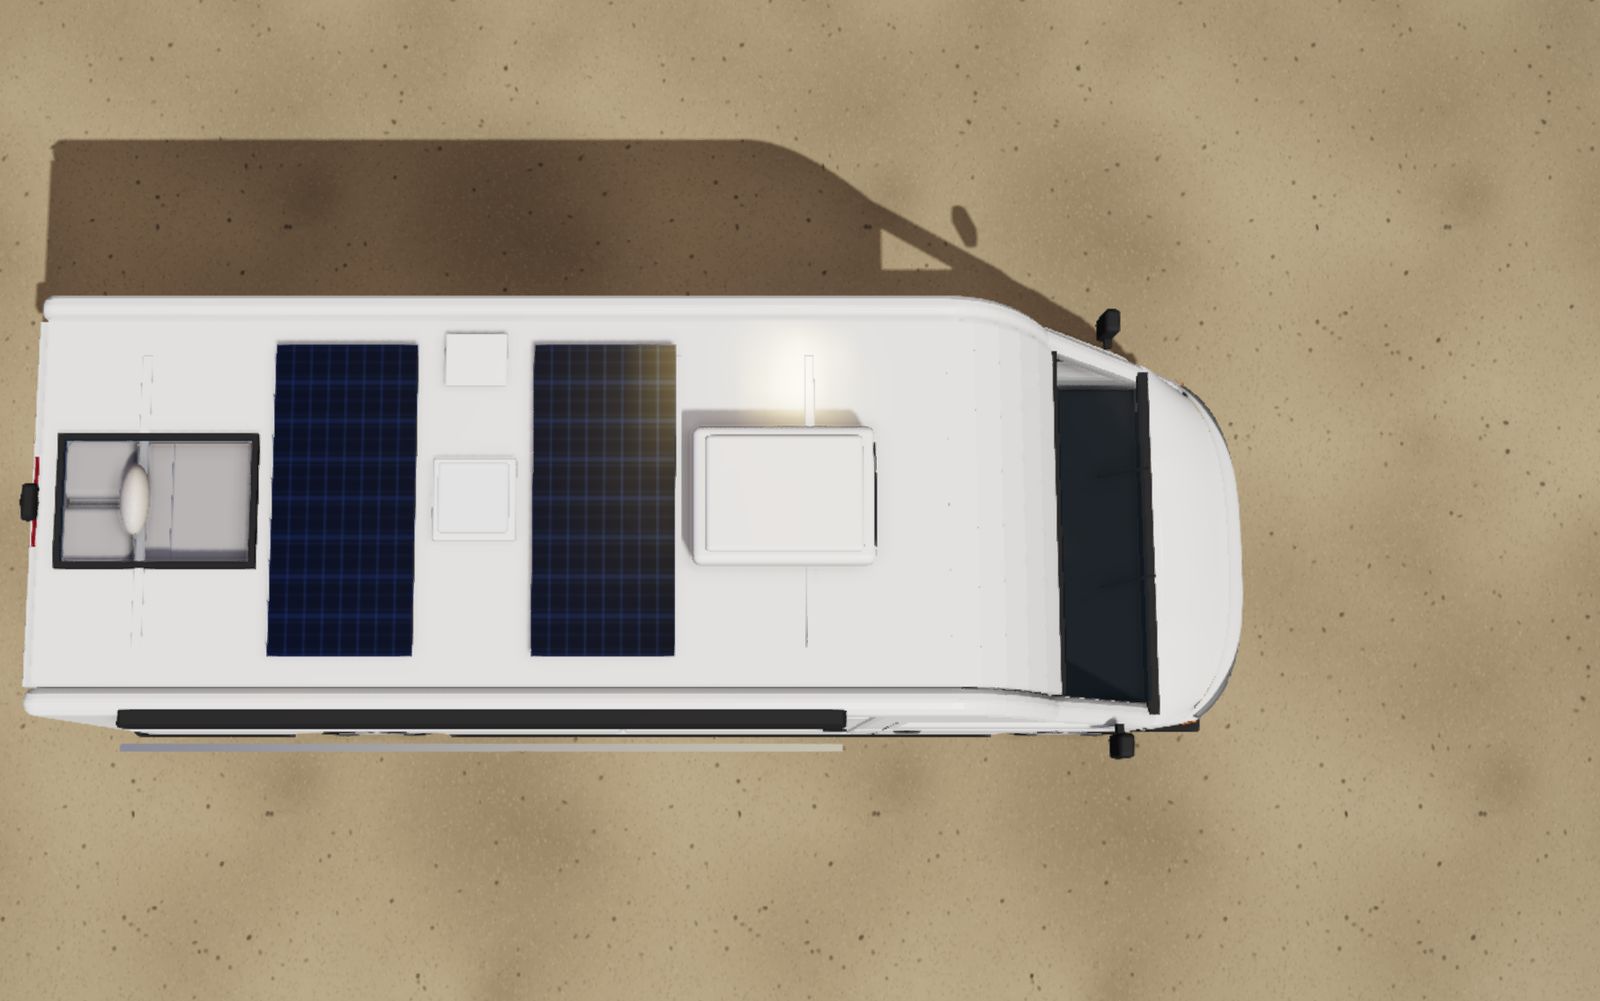
What really drives the price
- The electrical system: Battery capacity, solar power and an inverter for mains appliances are the most expensive single decisions. If you only run lights, a fridge and phones, you need far less than someone who works from the van or cooks on electricity. The campervan electrical system guide shows how to work out your demand.
- Windows and roof openings: Every window means material, a cut-out in the bodywork and careful sealing. Having them fitted by a specialist raises the price per window considerably.
- Heating and hot water: A professionally installed diesel air heater is a big line item; a combined heating and hot water unit or a gas system costs more. This is not the place to economise; see insulation and heating.
- Washroom: Between a portable toilet and a wet room with shower, hot water and grey water tank there is easily a factor of ten.
- Furniture: Lightweight boards, good runners and catches cost more than basic plywood but save weight. Curves and elaborate finishes drive up both materials and hours.
- Vehicle class: A long high-roof panel van needs more insulation, panelling and furniture than a compact bus. Off-road vehicles and pickup cabins often call for sturdier parts.
DIY, workshop or a mix of both
Building it yourself mainly saves labour. As a rule of thumb, a conversion takes roughly 200 to 800 hours depending on scope and experience; if you only work evenings and weekends, six months or more go by quickly. Workshop labour costs roughly CHF 80 to 150 an hour depending on country and business, towards the top end in Switzerland. Always get a written quote for larger jobs.
For many people a mix makes most sense:
- Very doable yourself: insulation, floor, wall and ceiling panelling, furniture, water tanks and pump.
- With experience or help: window cut-outs, roof penetrations, the 12 V distribution with battery and fuses.
- Leave to professionals: gas installation, 230 V wiring with hook-up and inverter, diesel or gas heaters with their exhaust.
Hidden costs almost everyone underestimates
- Tools: Starting from scratch, you need a jigsaw, cordless drill, multi-tool, crimping tool and a multimeter. As a rule of thumb CHF 300 to 1,500, depending on what you already own.
- Small parts: Cable, lugs, fuses, screws, rivets, adhesive, sealant and tape add up to several hundred and sometimes more than a thousand.
- Wrong buys and repeat buys: A part doesn't fit, a board is cut wrong, an appliance turns out to be too small.
- Delivery and transport: Boards, batteries and windows are bulky or heavy.
- Running costs: Insurance, any gas inspections and heater servicing come on top once the build is finished.
How to plan your budget
- Separate must-haves from nice-to-haves: What do you really need on the first trip? A lot can be added later, as long as space and cable runs are planned in.
- Layout before shopping: Only order big items such as windows, fridge and battery once the layout is fixed. How to go about it is covered in plan a camper van build.
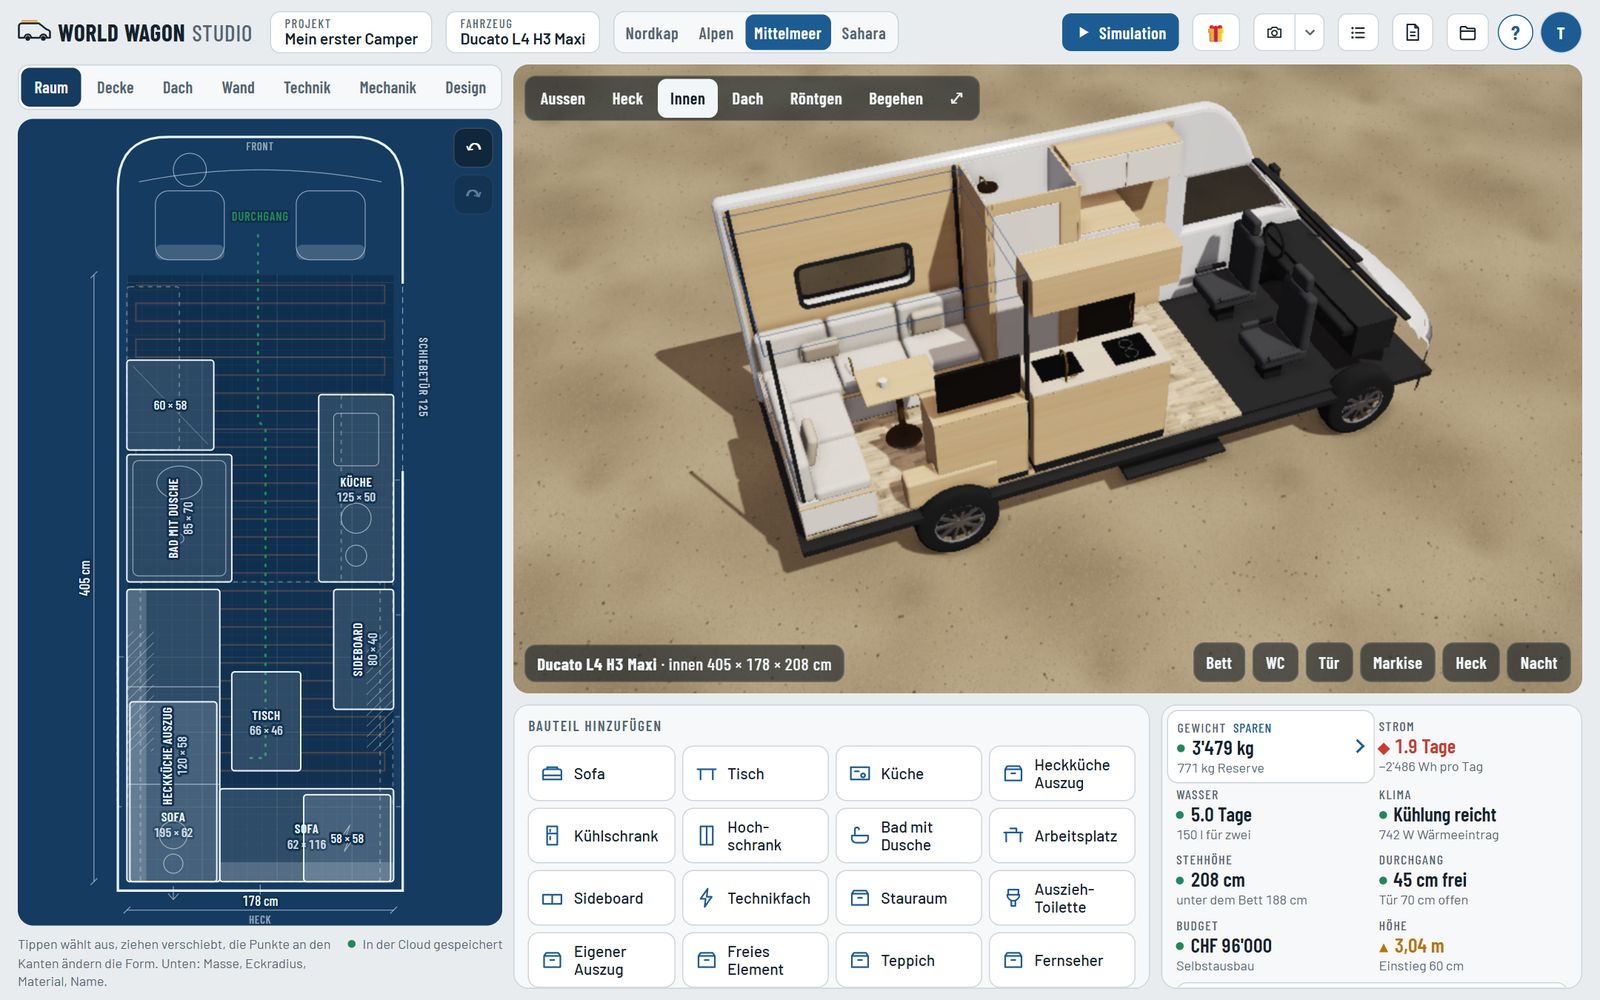
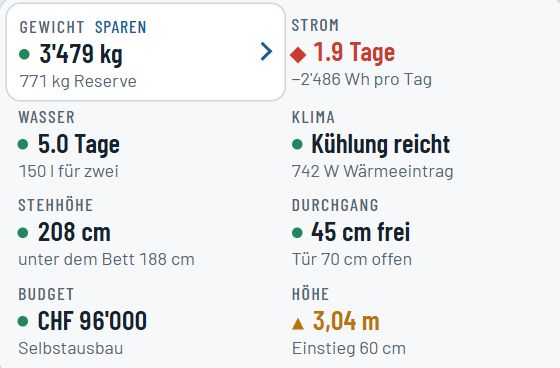
- Parts list with price and weight: Write down every part with its price, including the small stuff. In the studio, the budget field in the board computer adds up every part of your plan and tracks the weight at the same time.
- Build in a reserve: Add 15 to 20 per cent to the total for small parts, wrong buys and price changes.
- Track actual spending: After each stage, compare what you actually spent with the plan. That way you notice early where you need to adjust.
Typical cost mistakes
- Saving in the wrong place: Undersized cables, missing fuses or a cheap heater without proper installation are safety risks, not savings.
- Oversizing the electrics: A huge battery that never runs flat costs money and weight. Calculate your demand instead of guessing.
- Shopping without a plan: Buy before the layout is fixed and you often end up buying twice.
- Forgetting weight: Heavy furniture and large tanks can push the van over its maximum permitted mass, which is expensive or impossible to fix; see campervan weight and payload.
- Sloppy insulation: Condensation behind the panels leads to rust and mould, and the fix means taking everything out again.
- Not keeping receipts: You need invoices and warranty documents when something breaks and when you sell. File them per part from day one.
Frequently asked questions
How much does a campervan conversion cost on average?
As a rule of thumb for materials without the vehicle: basic builds from around CHF 4,000, solid builds with windows, solar and heating roughly CHF 10,000 to 20,000, high-end off-grid builds CHF 20,000 and more. With workshop labour, a full conversion costs considerably more.
How long does a DIY van conversion take?
Roughly 200 to 800 hours, depending on scope and experience. If you only build at weekends, expect several months.
Is a DIY conversion cheaper?
You mainly save on labour, but you pay for tools, mistakes and a lot of your own time. Gas, 230 V and the heater still belong in professional hands for safety reasons.
What is the most expensive part of a van build?
Usually the electrical system, followed by furniture, windows and heating. On a workshop build it is often the labour.
Does my conversion need to be inspected?
That depends on the country and the scope, for example for a gas system, windows, seats or re-registering the vehicle as a motorhome. Check with your road traffic authority or inspection body before you start.