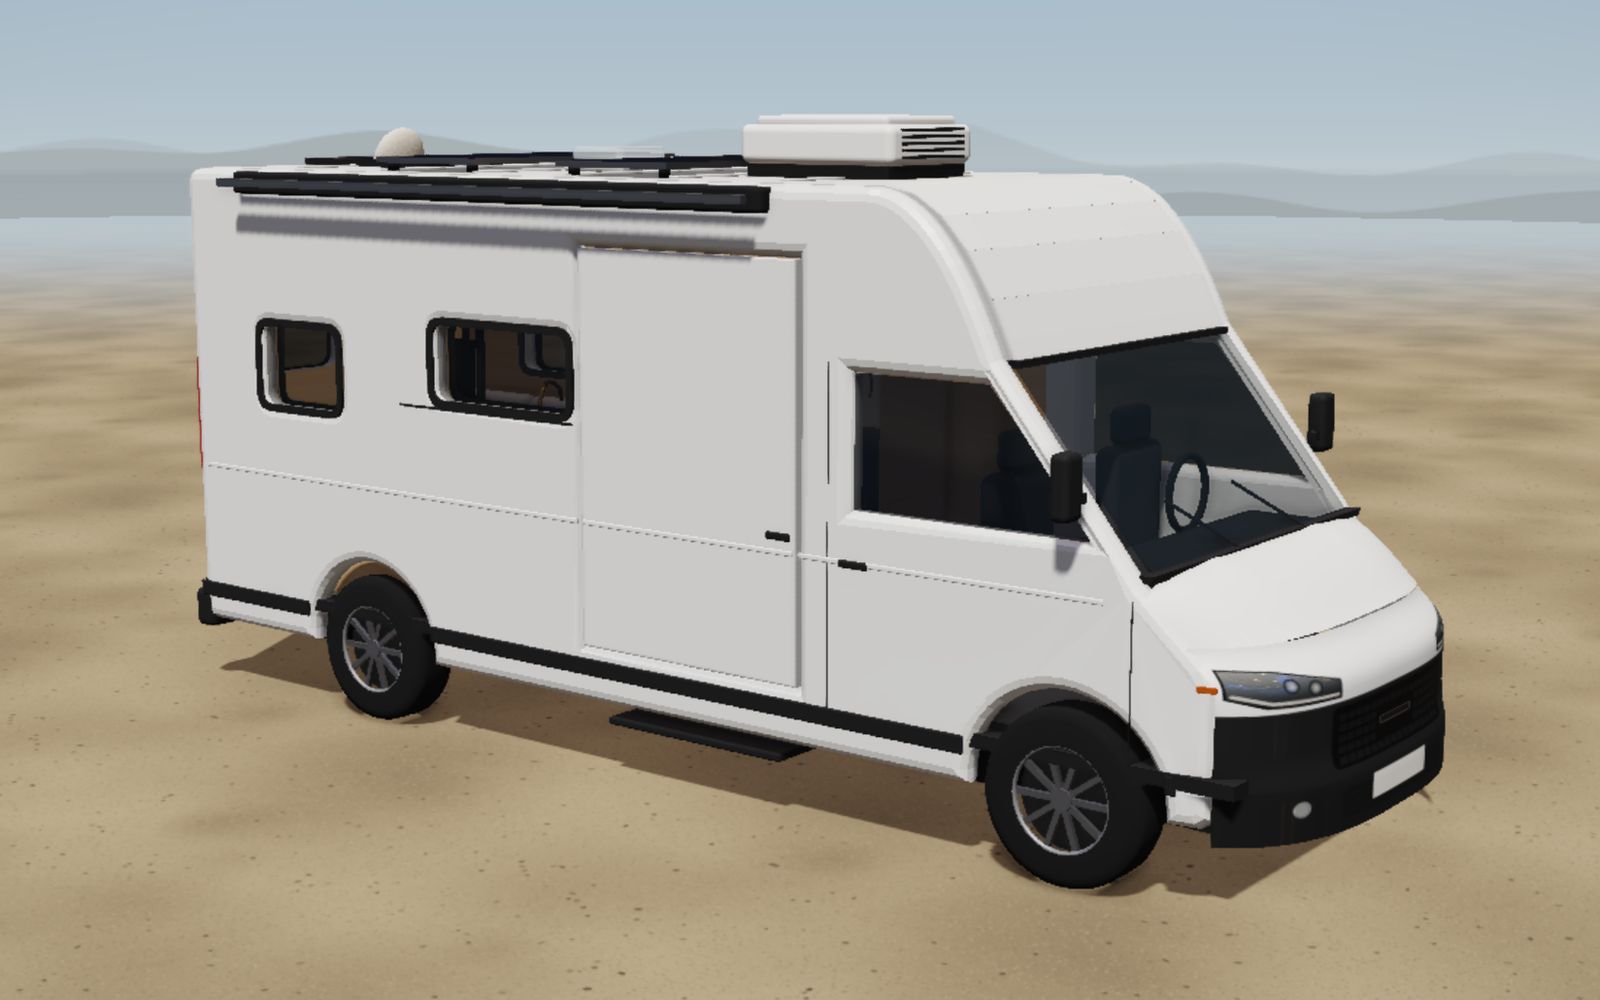
Guide
How to plan a campervan conversion: from idea to build plan
Many problems in a van conversion start long before the first cut: the bed turns out too short, the battery lasts two days and the finished van is over its weight limit. This guide shows you the order to plan in, the questions to settle before you pick up a saw, and the mistakes that are easy to avoid on paper.
In a campervan everything is connected. The layout decides where the tanks and battery can go. The battery decides how much solar the roof needs. Water, battery and furniture add up to the weight, and the weight decides whether you can still drive the van on a standard car licence. Start with the furniture, squeeze the rest in ‘somehow’, and you often cut twice.
Good planning means making the big decisions in the right order and checking each with a simple sum: does it fit, will it last, is it too heavy?
The order: eight steps to a plan
- Define your travel profile: who travels, how long you stay off-grid, in which season and where.
- Check the vehicle and payload: maximum authorised mass from the documents, actual weight from a weighbridge, and the real payload in between.
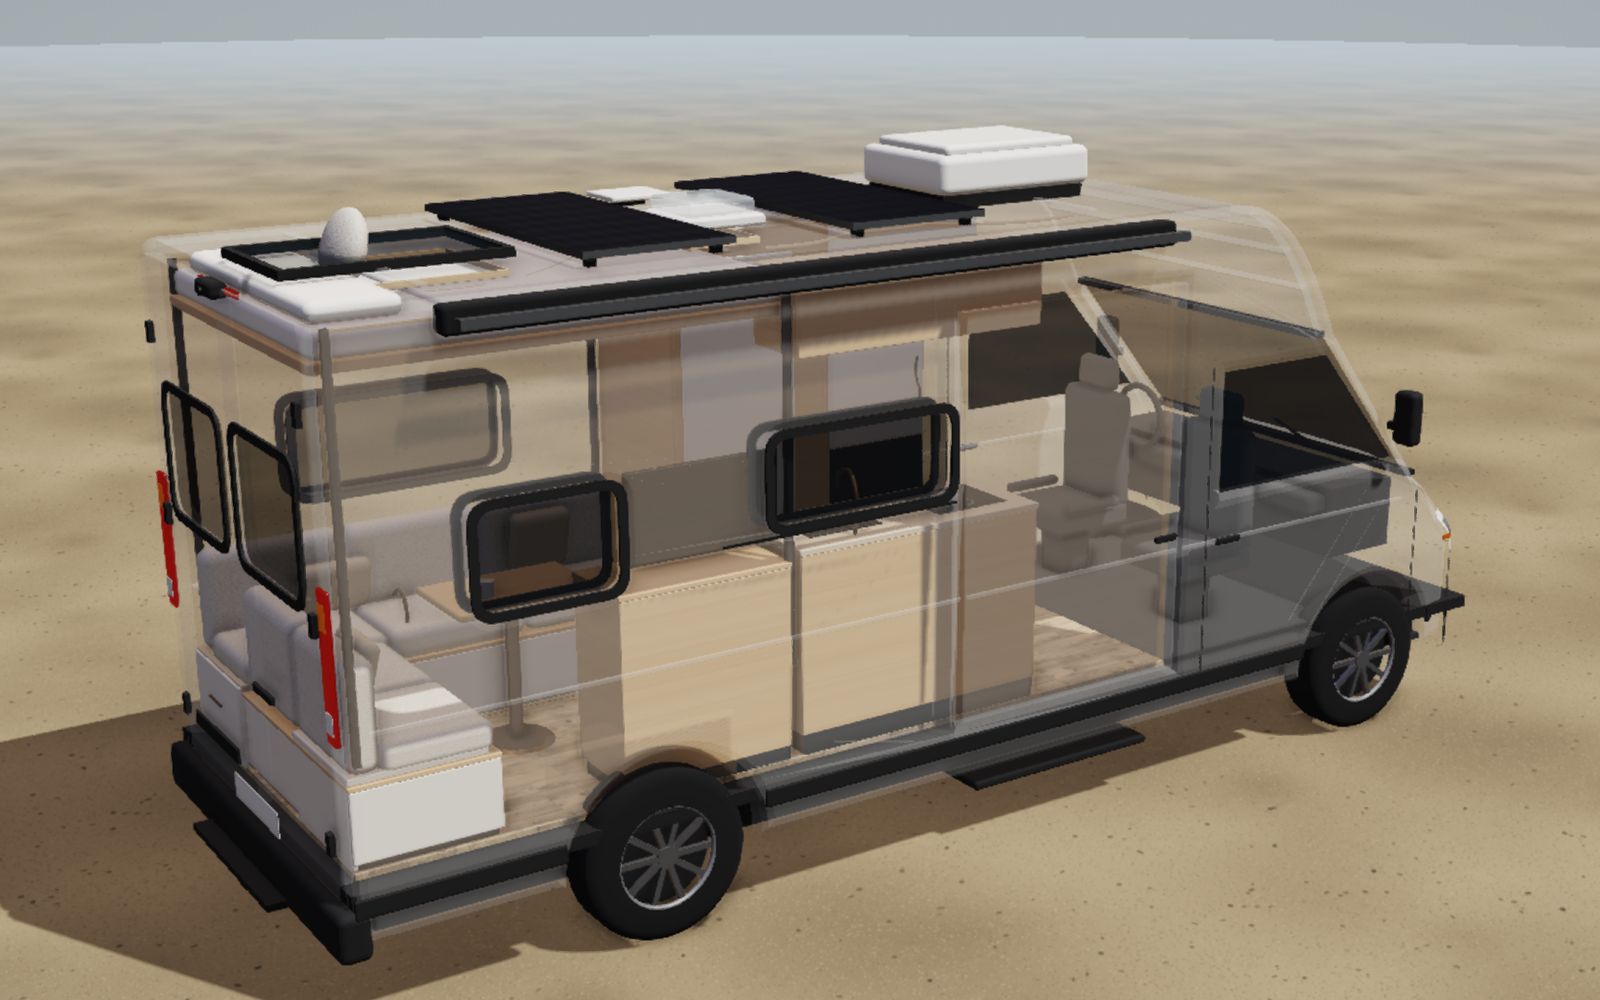
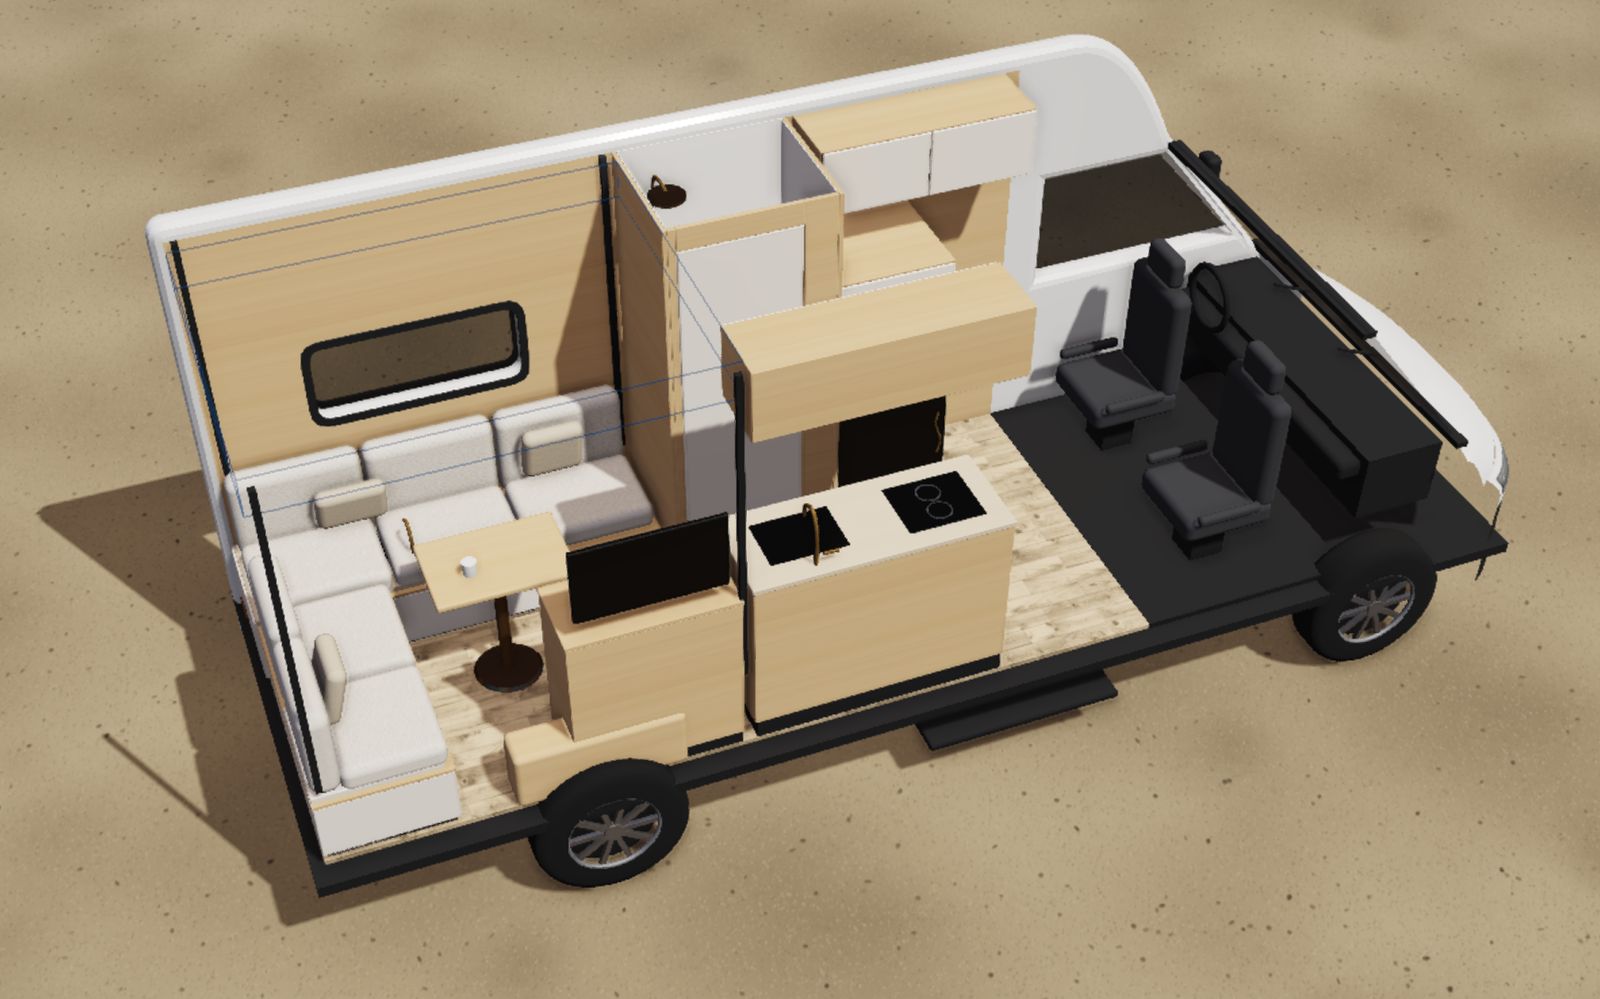
- Draw the layout: bed first, then kitchen, seating, storage and, if you want one, a washroom.
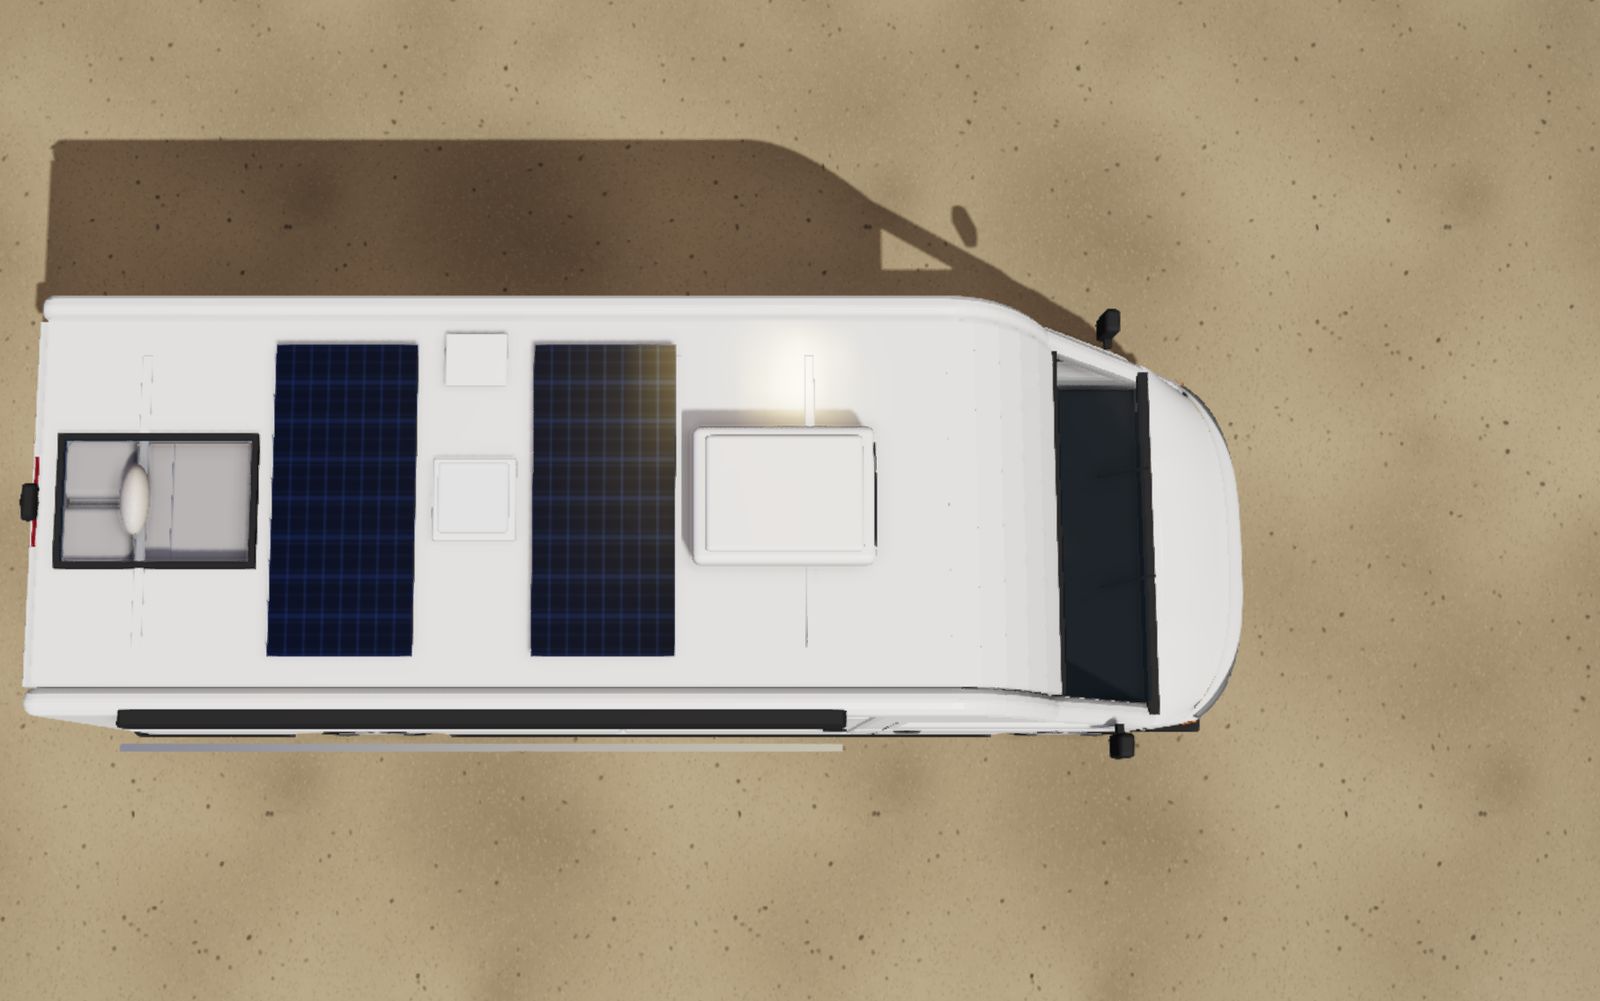
- Plan the openings: windows, roof hatch, fan and solar area on the roof, before any hole goes into the metal.
- Size power and water: daily consumption first, then battery, solar and tank sizes.
- Insulation and heating: matched to the coldest trip you will realistically take.
- Check weight and budget: every component goes on one list with its weight and price.
- Build plan and build sequence: dimensions, cutting list, cable routes and the order of work.
Steps 5 to 7 feed into each other: a bigger battery adds weight, a bigger tank takes space. Run the numbers two or three times on paper rather than rebuilding later.
Your travel profile: five questions that decide everything
Write down your answers before you buy a van or draw a layout; every later calculation builds on them.
| Question | What it affects | Example answer |
|---|---|---|
| How many people sleep in the van? | Bed size, seats, water, storage | two adults |
| How many days do you stay without hook-up or a water tap? | Battery, solar, tank sizes | three to four days |
| When and where do you travel? | Insulation, heating, cooling, frost protection | spring to autumn, Alps and Mediterranean |
| Do you need standing height? | Vehicle class, high roof or pop-top | yes, for cooking |
| Is the van also your everyday vehicle? | Length, height, parking, seats | yes, for the commute |
Choosing the base vehicle
The vehicle class sets how much space and payload you have. The overview is deliberately broad.
| Class | Strengths | Limits |
|---|---|---|
| Compact bus | short and low, easy in everyday life and in town | standing height only with a pop-top, little room for tanks |
| Panel van with high roof | lots of space, standing height, fixed bed and washroom possible | length and height limit everyday use |
| Hybrid panel van with wide body | more interior width, for example for a cross bed | larger outside dimensions, the body adds weight |
| 4×4 off-road camper | four-wheel drive and ground clearance for tracks | heavier running gear eats payload, higher centre of gravity |
| Off-road SUV with roof tent | agile, capable off-road, short | hardly any interior, roof load limits tent and luggage |
| Pickup with cabin | cabin can be removed on many designs | almost all of the build weight sits on the rear axle |
Before you buy, get two numbers: the maximum authorised mass from the registration document and the actual unladen weight from a weighbridge. The difference is your budget for the build, water, passengers and luggage; see campervan weight and payload.
Planning the layout: bed first
The bed is the largest piece of furniture and the hardest one to shrink. Fix it first and the rest tends to fall into place.
- Bed length: your height plus roughly 10 to 15 cm (rule of thumb). A cross bed saves length but only works if the interior is wide enough.
- Fixed bed or convertible: a fixed rear bed leaves storage underneath; a bed made from the seating saves length but has to be made up every evening.
- Kitchen: close to the sliding door for light and air while cooking, ideally with one continuous worktop.
- Washroom: takes a lot of space. Consider whether a toilet in a cupboard and an outdoor shower would do.
- Technical kit: battery and tanks low, between the axles and accessible for maintenance.
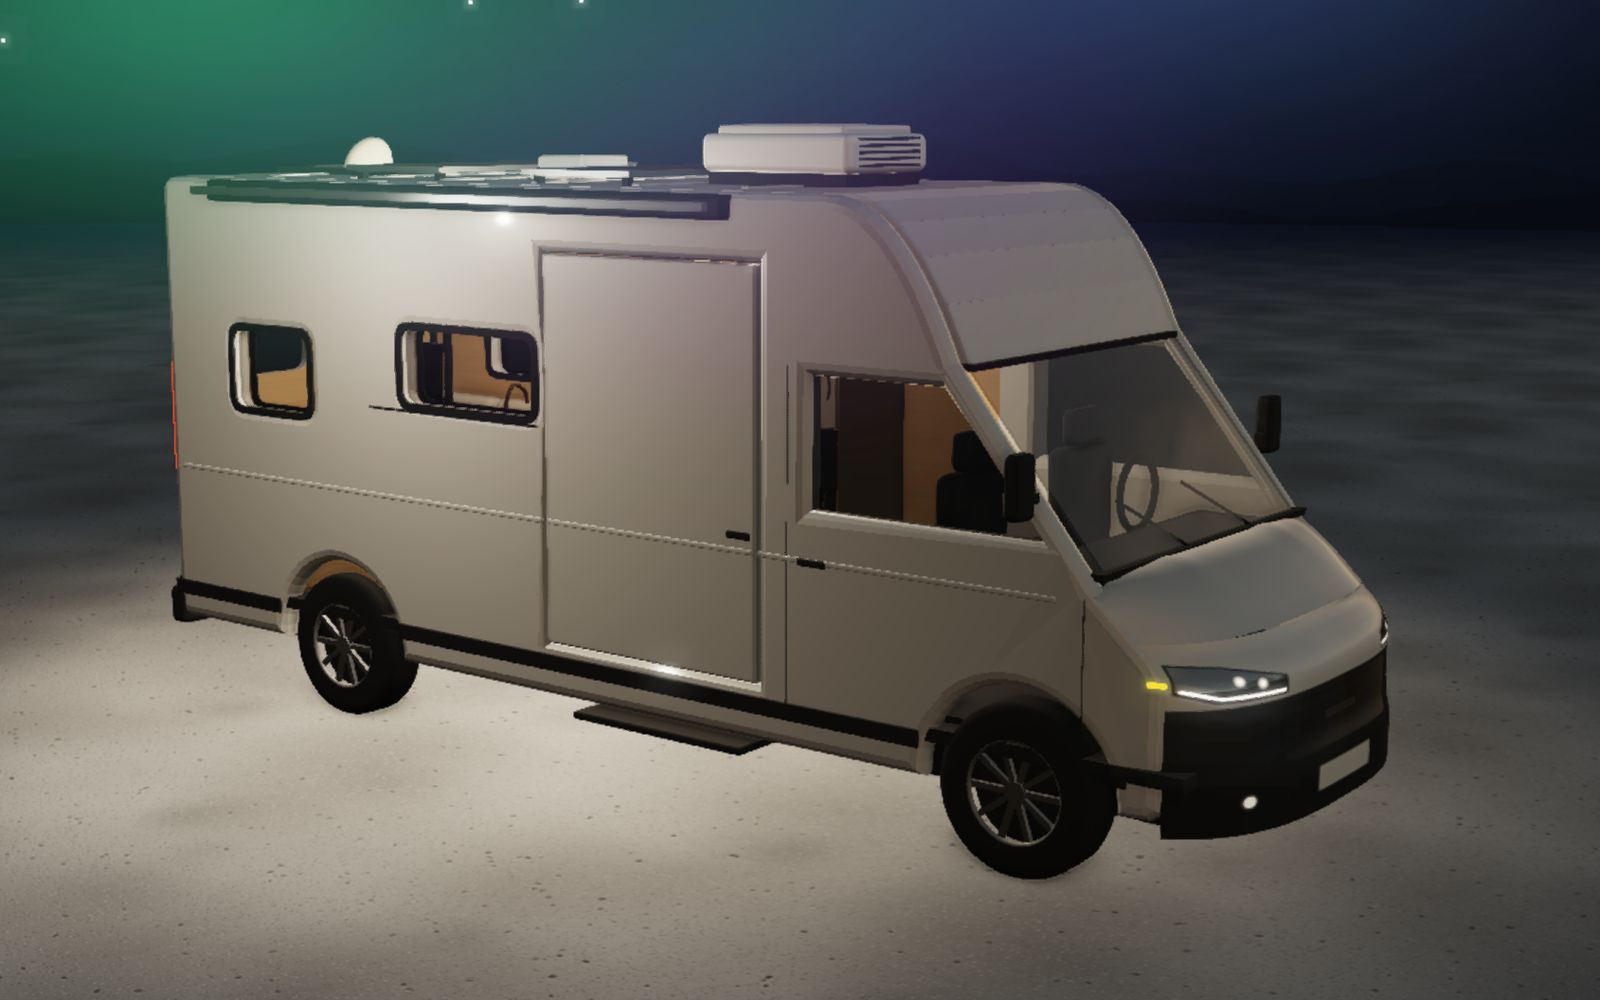
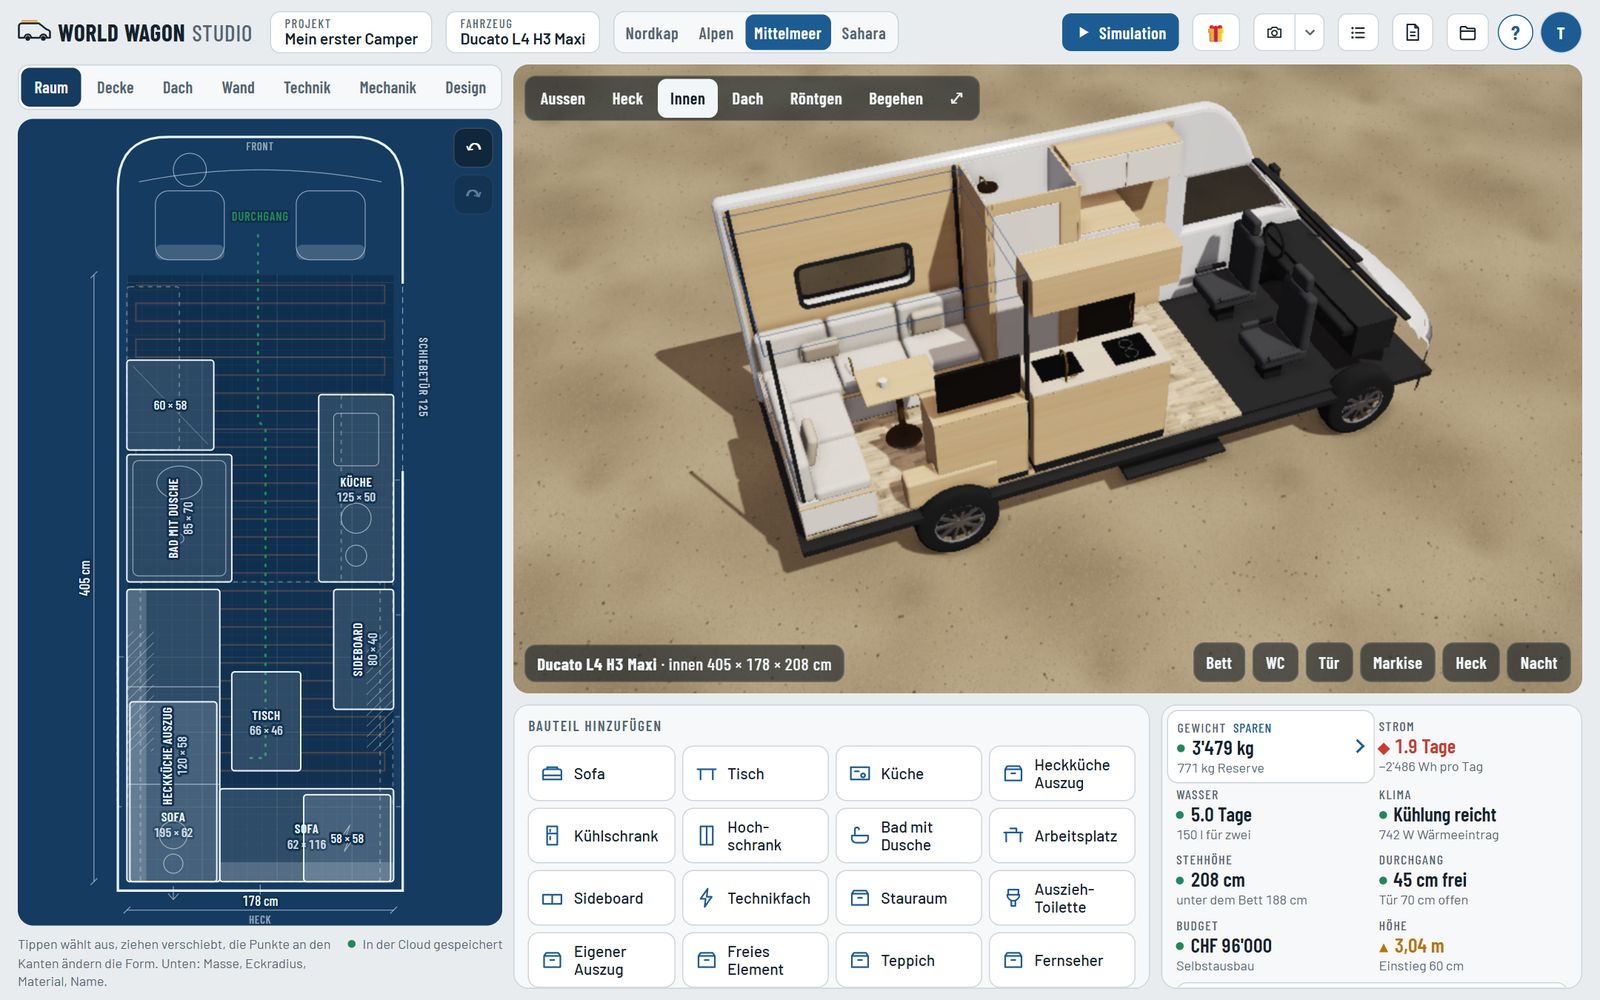
Compare variants before you commit. In the studio you draw the floor plan from above and see it in 3D at the same time, including an interior cutaway. For more ideas, see van layout ideas.
Example: a planning sheet for two
Rules of thumb for a couple who want to stay off-grid for three to four days in summer. Redo the sums with your own numbers.
| Key figure | Rule of thumb in the example | How you get there |
|---|---|---|
| Power consumption | about 650 Wh per day | power times running time per appliance, see campervan electrical system |
| Battery | 150 to 200 Ah LiFePO4 | two days of reserve without sun |
| Solar | about 300 Wp | daily use divided by sun hours and losses |
| Fresh water | about 80 litres | 2 people × 12 litres × 3 days plus 10 % reserve |
| Grey water | 60 to 80 litres | at least three quarters of the fresh water tank |
| Weight reserve | at least 100 to 150 kg | payload minus build, people, water and luggage |
Keep a list that grows with the project, one row per component with weight and price, so you spot early when budget or weight get out of hand. For the money side, see van build cost.
From plan to build plan
A plan is finished when you can use it in the workshop: dimensions for every piece of furniture, a cutting list, a 12 V wiring diagram with cable sizes and a build sequence. Openings first, then insulation and floor, then cables and pipes, and finally panelling and furniture.
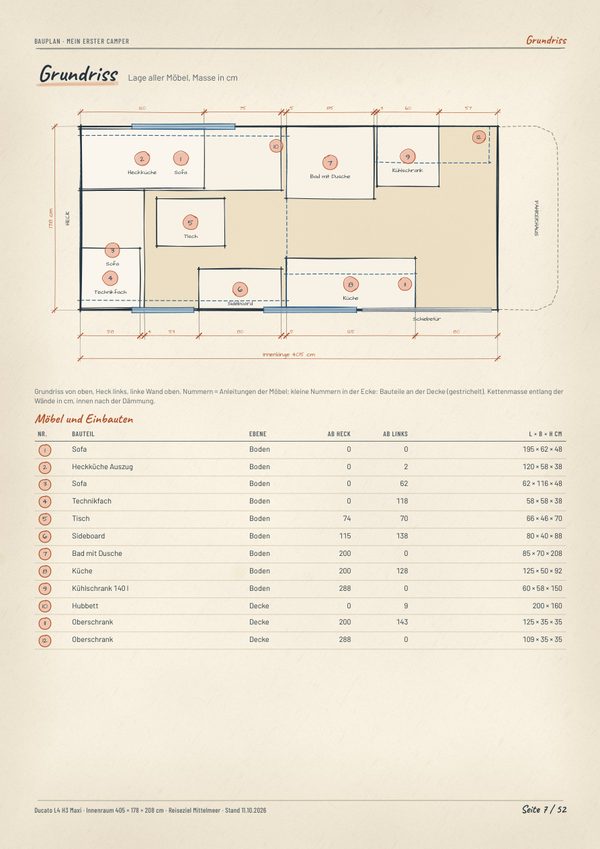
In the studio the build plan is generated from your floor plan. The preview is free; the printable PDF with instructions, sketch and parts list per piece of furniture is part of Premium.
Common mistakes and a checklist
These mistakes only become visible late in a build:
- Cutting windows before the layout is fixed. The tall cupboard then ends up in front of one.
- Weighing only at the end. By then there is little you can change.
- Forgetting cable routes. Conduit behind the panelling is cheap; opening it up later is not.
- Underestimating storage. Shoes, tools, wet jackets and food all need a fixed place.
- Forgetting ventilation. Sleeping and cooking produce moisture; without air exchange you get condensation.
Checklist before the first cut:
- Travel profile written down
- Maximum authorised mass known and unladen weight measured
- At least two layout variants compared
- Power and water needs calculated
- Weight list with a reserve drawn up
- Checked whether the conversion needs inspection or registration
Frequently asked questions
Where do I start with a campervan conversion?
With your travel profile and the vehicle documents: who travels, how long you stay off-grid and how much payload is left after weighing. Only then is it worth drawing a layout.
How long does it take to plan a van build?
It depends on the scope; think in weeks rather than evenings. Every hour spent on layout, power, water and weight saves rebuilding later.
Does a van conversion need to be inspected or registered?
That depends on the country and on what you change. Windows, extra seats, a gas system or reclassifying the van as a motorhome can require an inspection. Check with your road traffic authority before you build.
High roof or pop-top?
A high roof gives permanent standing height and room for overhead lockers but makes the van taller. A pop-top keeps it low and practical, with standing height only when raised.
Can I plan a van conversion without any experience?
Yes, if you work in the right order and check each decision with a quick calculation. For gas and 230 V, always bring in a qualified professional.